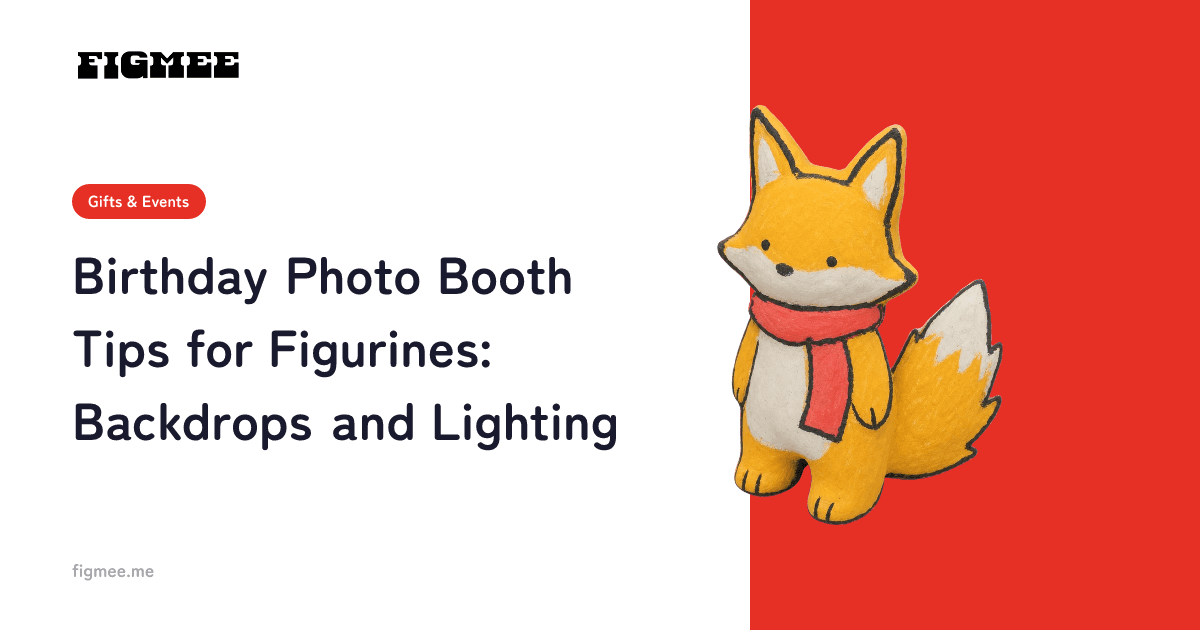
The three keys to photographing figurines in a birthday photo booth are to set the backdrop a little behind the figurine, soften window light through a sheer curtain, and lower the camera to the figurine's eye level. Build a small booth in one corner of a room and you can take a birthday shot of a favorite character's figure or acrylic stand — or of a character you drew yourself (your OC) — with nothing more than a phone.
This guide walks through building a mini photo booth step by step, then covers angles and composition, forced perspective for shots that include people, and choosing backdrop and prop colors from a character's signature color. The second half shows how to celebrate a character who doesn't have a physical figure yet, using a figurine-style image, a 3D model and a spin video made from your illustration.
Note: Figmee currently turns your illustrations into figurine-style images and 3D models (GLB / 3MF), and can export a video of the 3D model spinning. Ordering physical figurines (3D prints) is Coming Soon, and once it opens, shipping will be within Japan only. The photography steps in the first half are general techniques for shooting figures and merch you already own.
First, decide: figurines only, or people too?
A birthday photo booth comes in two sizes: a small booth where only the figurines are photographed, and a larger one that people step into to be photographed with them. Which one you build changes both the size of the backdrop and how you light it.
| Mini photo booth (figurines only) | Walk-in photo booth (people + figurines) | |
|---|---|---|
| Backdrop size | One sheet of paper or fabric | Fabric or a wall wide enough for people to stand side by side |
| Light | Window light plus a white sheet of paper to bounce it | Window light, or room lighting that brightens the whole space |
| Camera height | The figurine's eye level (just above the surface) | Chest to eye level of the people |
| Figurine placement | Away from the backdrop, as the star of the frame | Close to the camera, with people standing farther back (forced perspective) |
| Best for | Birthday keepsake shots and social posts for a favorite character or your OC | Group photos at a birthday party or a get-together to celebrate a favorite character's birthday |
If you're unsure, start with the mini booth. It takes about 40 minutes to set up, and you can reuse the same backdrop and light for shots with people.
How to build a mini photo booth in 6 steps
You'll need: a sheet of construction paper or plain fabric, masking tape, white paper (printer paper works), a few birthday props and your phone.
- Pick a spot by a window (about 5 min) — Choose a table near a window that doesn't get direct sunlight. On a sunny day, draw a sheer curtain.
- Set up the backdrop (about 10 min) — Tape the paper to a wall or a box and let it drape down onto the table in a gentle curve, without creasing it. This gives you a seamless backdrop with no visible line where the wall meets the table. Simply taping white paper to a board or wall next to a bright window is enough to make a miniature seamless backdrop (Source: PetaPixel, "Shooting Simple Product Photos with Printer Paper and a Window", as of September 2026).
- Place the figurine away from the backdrop (about 2 min) — Don't push it against the paper; move it forward by a hand's width or two. The farther the backdrop is from the figurine, the more easily it blurs (the next section explains why).
- Shape the light (about 5 min) — Let the window light fall from the side or slightly in front, and stand a sheet of white paper on the opposite side to brighten the shadowed side. Bouncing light back with paper on the side opposite the window is also shown in the source above. Switch off the room lights so that only window light remains. Not mixing light sources with different colors, such as tungsten bulbs and sunlight, is a basic tip for getting white balance (the color cast of a photo) right (Source: Nikon, "The beginner's guide to White Balance", as of September 2026).
- Add birthday props (about 10 min) — Choose a miniature cake, number candles or a small garland to match the figurine's size. Keep props shorter than the figurine and limit them to two or three so the star of the shot stays clear. Don't use open flames near a paper or fabric backdrop; use LED candles instead.
- Take a test shot at eye level and adjust (about 5 min) — Lower your phone until it's just above the surface and take one shot at the figurine's eye level. Zoom in to check focus, shadows and anything showing at the edges of the backdrop, then adjust the placement and light.
Shooting tips: angle, composition, blur and forced perspective
Shoot at eye level, or slightly below
Looking down from a standing person's eye line makes a figurine look small and flat. Just lowering the camera to its eye level brings out its expression and depth, and shooting slightly upward from below makes it look bigger than it is. In model and toy photography, shooting low with an upward tilt is also described as a way to give the subject a sense of scale (Source: Digital Camera World, "How to shoot model toy photography that looks like real life", as of September 2026).
Rule of thirds, or dead center?
The rule of thirds — dividing the frame into three parts both horizontally and vertically and placing the subject on those lines or where they cross — is a basic composition guideline. At the same time, when the subject takes up only a small part of the frame, placing it almost dead center can make it stand out better (Source: Adobe, "How to use (& break) the rule of thirds in photography", as of September 2026). A simple rule: center a single figurine as the star, and use the thirds when you want to show a birthday scene with a cake and props.
Blur the background so the figurine stands out
A blurred background makes the figurine's outline pop. The lower the f-number (the wider the aperture), the blurrier the background, and increasing the distance between the subject and the background also makes it easier to blur (Source: Nikon School, "Understanding Depth of Field", as of September 2026). On a phone, the easiest option is to widen the gap between the figurine and the backdrop. Hang a small string of fairy lights well behind it and the points of light soften into a festive glow. If you use portrait mode, zoom in to check that the edges of hair and props haven't been cut out unnaturally.
With people in the shot, use forced perspective
To get people and a figurine into the same shot, put the figurine close to the camera and have the people stand farther back. Because nearby things look big and distant things look small, the figurine and the people end up looking about the same size, as if they're celebrating side by side. Placing larger subjects in the background and smaller ones in the foreground to play with the sense of scale is called forced perspective (Source: Adobe, "What is forced perspective in photography & how to do it", as of September 2026). Focus on the figurine's face.
Pick backdrop and prop colors from the character's signature color
If you choose the backdrop color from the character's hair or outfit (their signature color), the photo feels both like a birthday and like that character. There are three ways to do it.
| Approach | Effect | Example |
|---|---|---|
| Match with similar colors | Calm and cohesive | A character with blue hair, a light blue backdrop and white props |
| Use the opposite (complementary) color as the backdrop | The character stands out from the background | A character in a yellow outfit against a blue-violet backdrop |
| Go plain white or pale gray | Shape and color come through as they are | When you want to show the 3D form, or post it next to a spin video with a white background |
On the color wheel (colors arranged in a circle), neighboring colors create a calm, cohesive look, while colors opposite each other bring contrast and energy (Source: Adobe Express, "The color wheel explained and how colors work together", as of September 2026). Props such as a garland or number candles are enough to add the birthday feel. For backdrop material ideas (colored paper, fabric, outdoor scenery), see Creative Backgrounds for Figurine Photography.
Three checks before you post
- Decide the orientation first: Cropping after the fact tends to cut off the figurine's head or the props. Decide before you shoot whether the post will be vertical, horizontal or square.
- Wide shot first, close-ups after: Show the whole booth (figurine, props and backdrop) in the first image, then line up close-ups of the face and props from the second image on, so the birthday scene comes across.
- Zoom in to check what's in the frame: Make sure no bits of the room show past the edges of the backdrop, and that there are no reflections of the window or your phone, and no boxes or letters with names or addresses on them.
No physical figure yet? Celebrate your OC's birthday with a figurine-style image and a spin video
A character you drew yourself (your OC) may not have a physical figure to display yet. With Figmee, you can make the following three things from your illustration. All of them are digital data you can use in a birthday post or as part of your mini photo booth.
| What you can make | What it is | Birthday ideas |
|---|---|---|
| Figurine-style image (called "3D image" on screen) | Your illustration with a figurine-like finish, keeping the feel of your hand-drawn lines | The first image of a birthday post, or a profile picture or header image |
| 3D model (GLB / 3MF) | 3D data you can rotate 360° in the browser, and download | Show it from different angles, or render an image with a background in 3D software |
| Spin video (called "360° video" on screen) | A square video in which the 3D model turns twice in about 6 seconds, on a white background with the Figmee logo in the bottom-right corner | The second image of a post, or play it on a tablet placed in your mini booth and photograph the whole setup |
Here's how to make them.
- Prepare your illustration (about 5 min) — Use a phone photo or scan of a drawing on paper, or an illustration you drew digitally. PNG, JPEG and WebP files up to 20 MB each are supported. You can use illustrations you drew yourself, or ones the artist has given you permission to use. Photos of real people or objects can't be used, so a photo taken in your booth can't be converted as-is.
- Generate a figurine-style image (about 2–3 min) — Upload the illustration and generate. Your first 5 generations are free as a sign-up perk (valid for 3 months from registration).
- Generate a 3D model (a few minutes) — Create a 3D model from the image you like. It costs 5 tokens per model (5 tokens cost $5.99), and your first 3D model per account is free.
- Export the spin video (about 1 min) — On the artwork page, press "Create 360° video", check the spinning preview, press "Export", and when it's done, press "Save". It doesn't use any tokens for artworks that already have a 3D model.
Here are the specs and limits to know before you export.
- White background, with a logo: The spin video has a white background, and the Figmee logo appears in the bottom-right corner. If you want a different background color or a version without the logo, you can download the 3D model (GLB) and set the background and lighting yourself in 3D software such as Blender. See How to Edit AI-Generated 3D Models for how.
- Format and browsers: The video format depends on your browser; browsers that can't export MP4 produce WebM instead. Exporting works in Chrome and Edge on computers and Chrome on Android, and may not work in Safari (including on iPhone and iPad) or Firefox. The video is created on your device and isn't sent to Figmee's servers.
- The back is inferred: Because the model is built from a single front-facing illustration, the AI infers the shape of the back and the soles of the feet, which aren't in the drawing. Turn the model all the way around in the browser before you show it off in a spin video.
- Pairing with a white background: If you post the spin video and your booth photos together, a white or pale booth backdrop keeps the look consistent.
For the full path from illustration to 3D model, and what makes a drawing work well, see How to Turn Your Original Character into 3D.
Frequently asked questions
Q. Can I take good figurine photos with just a phone? A. Yes. With bright window light and a sheet of white paper to bounce it, you'll get soft shadows without any special gear. If you get so close that the phone can't focus, step back a little, zoom in, and focus on the figurine's eyes.
Q. What should I do if the room is dark at an evening birthday party? A. Stick to one light source, such as an LED desk lamp that stays cool, and shine it through tracing paper or a thin white cloth. Putting something translucent between the light and the subject diffuses the light and softens it (Source: Adobe, "Diffused light photography: The beauty of soft light", as of September 2026). A bare bulb tends to cast crisp, hard shadows, so don't point it straight at the figurine.
Q. Any tips for arranging merch for a favorite character's birthday? A. Pick one star, put it front and center, and arrange the rest of the merch behind it and to the sides at different heights. If everything sits in one row, it's hard to tell what the star is. A backdrop in colors similar to the character's signature color keeps even a busy setup looking cohesive.
Q. Can I change the background color of the spin video? A. Not at the moment; it's fixed to white. If you want a different background, download the 3D model (GLB) and set the background and lighting in 3D software before exporting.
Q. Can I get a physical figure of a character I drew? A. Ordering 3D prints through Figmee is Coming Soon, and once it opens, shipping will be within Japan only. For now, you can make figurine-style images, 3D models (GLB / 3MF) and spin videos. A 3MF file is data for use with your own 3D printer or a print service that accepts 3MF; whether it prints as-is, and how faithfully colors and fine details come out, depends on the printer and software.
Summary
The basics of shooting figurines in a birthday photo booth are to move the backdrop away from the figurine, soften window light through a curtain, and lower the camera to eye level. Choose the backdrop color from the character's signature color and keep props to two or three so the star stands out. And if your OC doesn't have a physical figure yet, make a figurine-style image and a spin video from your illustration and celebrate alongside your booth photos.