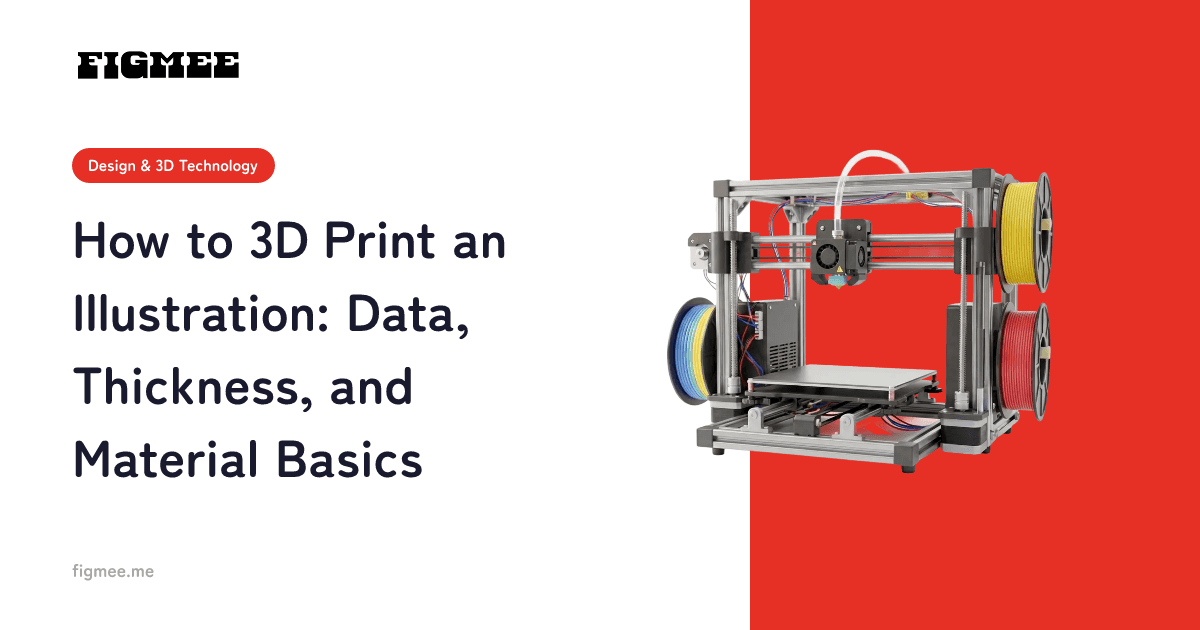
A 3D model made from an illustration has two very different states: one you can spin around 360° on screen, and one that can actually be produced as a physical object. When you send your exported data to an outside 3D printing service, a model that looks great can still be sent back with a "this can't be printed as-is" message. This guide covers what to prepare before you upload an illustration-based 3D model to an external service — file format, thickness, and material choice — at a level you can act on directly.
Note: Figmee currently offers figurine-style image generation and the creation and download of 3D model data (GLB / 3MF). Ordering a physical 3D print is Coming Soon, and there is no way to order directly from Figmee yet. Everything below is general preparation advice for taking your exported data to an outside 3D printing service.
Know your data formats: GLB vs. 3MF vs. STL
Before you submit anything, understand which format you have and whether that format can carry color. The same 3D model can hold different information depending on its format.
- GLB: Bundles the shape (mesh) plus color and textures into a single file. It's ideal for viewing a model exactly as it looks, spun 360° in a browser or app. This is your go-to format for sharing and reviewing.
- 3MF: A newer format built to handle the shape and color plus print-related information (units, build settings, and so on). It's convenient when you want to print in full color.
- STL: The most widely accepted format in 3D printing. However, it only holds the shape — no color information. If you're aiming for full-color output, note that STL alone cannot carry color.
Figmee exports GLB and 3MF. If your chosen service only accepts STL, you'll need to convert to STL. And if you want color output, you'll need a service that supports a color-capable format such as 3MF. Because required formats vary by provider, always confirm supported formats before you order.
A closed mesh (solid) is the core requirement
Data sent for 3D printing must be a "solid model" where every surface connects and closes. If there are holes in the surface, missing faces, or flipped inside/outside (reversed normals), the printer can't tell where the solid interior begins, and the print fails. An incomplete mesh with holes or gaps causes layer inconsistencies and errors.
A 3D model auto-generated from an illustration is usually already closed, but if you get an error when uploading to a service, suspect this first: is the mesh closed (watertight)? Most services offer an automatic check or basic repair on upload, so follow their prompts when a warning appears.
Thickness and thin parts: fix the fragile spots first
An illustration works fine with thin lines, but in three dimensions the thin areas are the first to break. This is where most people stumble at submission.
Each service publishes a minimum wall thickness — the point below which it can't produce or guarantee a feature. The numbers vary by process, material, and machine, so treat them as rough guides (based on various guidelines as of July 2026).
| Process / Material | Minimum wall thickness (guide) |
|---|---|
| Resin (SLA / DLP) | approx. 0.3–0.5 mm |
| Powder sintering (nylon, SLS / MJF) | approx. 0.8–1 mm |
| Fused deposition (FDM) | approx. 1–1.2 mm |
| Material jetting | approx. 1.0 mm |
| Metal (powder sintering, DMLS / SLM) | approx. 0.8–1 mm |
| Full-color gypsum | approx. 2 mm (features under 2–3 mm are said to be hard to produce) |
Even the "minimum wall thickness" differs by service and machine. Always confirm the latest guidelines of the service you plan to use.
Watch especially for thin parts: strands of hair, arms, fingers, held items (a staff or weapon), and accessories. The thinner they are, the higher the breakage risk. Countermeasures:
- Thicken thin areas in advance so they don't fall below the minimum wall thickness.
- For thin parts that float or stick out, such as hair and decorations, thicken the base or add more contact area with the body.
- If a part must stay thin, consider a different material (choose a detail-strong process like resin over brittle full-color gypsum).
With a process like full-color gypsum — great for color but brittle in itself — thin areas break especially easily. Deciding "color first or detail strength first" before submission helps cut down on rejections.
Design with support material in mind
In 3D printing, "support material" is built alongside your model to prop up floating or heavily overhanging parts, then removed afterward. If you forget it exists while designing, problems follow:
- Support material trapped inside a complex curved tube, or deep inside a cavity, can become impossible to remove.
- Forcing support material off can break the model itself.
The fix is to reduce large overhangs and floating thin elements, and keep parts that need support close to the body. When adding a pose or decoration, ask "can this stand without support?" and "can the support be cleanly removed?" to stay safe.
Material selection essentials (from a data-prep view)
A detailed material comparison belongs in a separate article, but at the data-preparation stage, thinking along these two axes keeps you on track:
- Do you want color reproduced in the data? For color-capable materials (full-color powder or acrylic types), submit in a color-carrying format like 3MF. With single-color materials, plan to paint the piece yourself after printing.
- Do you need detail strength? A design with many thin parts or small features breaks easily in a brittle material. Either choose a detail-strong process or add thickness in the data.
Which materials are available, and whether color output is supported, depends on the service. Decide the look you want (color-first or strength-first) first, then choose a service whose materials and formats match.
Pre-submission checklist
Before sending to an outside 3D printing service, confirm the following:
- The mesh is closed (no holes, gaps, or flipped faces — i.e., solid).
- No thin part falls below the service's minimum wall thickness guide.
- There are no floating or detached parts (no unintended floating elements).
- If you want color, you've chosen a color-carrying format (such as 3MF) and a full-color-capable material.
- Size and units (mm) are specified, and the result is the size you intended.
- You've matched the file format the service accepts (GLB / 3MF / STL, etc.).
- The source illustration is a work you have the rights to (don't commercialize a copy of a licensed character as-is).
Common rejections and mistakes
These are the cases services most often flag at submission. Clearing them in advance saves you rework.
- Mesh not closed: Holes or gaps mean it isn't recognized as solid and can't be produced.
- Insufficient thickness: Thin lines or flat panels fall below the minimum wall thickness and come back as unprintable or unguaranteed.
- Thin parts likely to break: Hair, fingers, or held items are too thin, flagged as a breakage risk during printing or post-processing.
- Floating parts: An element detached from the body floats in space and can't be produced as-is.
- Submitted in a format that can't carry color: Sending a color-less format (like STL) while expecting full-color output.
- Size / unit mistakes: A units mismatch prints the piece far smaller (or larger) than intended.
FAQ
Can I 3D print Figmee data as-is?
Figmee exports GLB / 3MF data. Physical 3D printing is Coming Soon, and you can't order directly from Figmee. To produce a physical object, you submit the exported data to an outside 3D printing service. Check the provider's supported formats, minimum wall thickness, and materials before you send.
Do I need STL to 3D print?
STL is the classic format, but more services now support GLB and 3MF. Check the provider's supported formats first, and convert to STL only if that's all they accept. For color output, you'll need a service that supports a color-carrying format such as 3MF.
How much thickness is safe?
The minimum wall thickness guide varies by process, material, and service — there's no single right answer (for example, roughly 0.3–0.5 mm for resin and 1–1.2 mm for FDM, as guides as of July 2026). Don't aim right at the minimum for thin parts; leaving margin helps prevent breakage. Always confirm the actual standard in the guidelines of the service you use.
Summary
When producing an illustration-based 3D model through an outside service, the shortcut is to confirm "is this in a printable form?" before worrying about looks. The key points: (1) choose a data format — including whether it can carry color; (2) make it a closed, solid mesh; (3) leave margin on thin parts and minimum wall thickness; and (4) shape the model with support material in mind.
Start by creating GLB / 3MF data in Figmee, review the whole thing at 360°, then confirm supported formats and materials before submitting to an outside service.