What you will learn
Turning an illustration into 3D goods means taking a character or artwork you drew and giving it a physical, three-dimensional form — a 3D model or a figurine — rather than only a flat item. The short answer: if you have already made acrylic stands or button badges, the best next step is to start with low-cost digital 3D, which you can try without holding any inventory.
This article compares flat goods with 3D, walks through the exact steps to turn an illustration into something three-dimensional, shows how to present it on social media and at events, and explains the path to physical goods.
Why flat goods alone can't show everything
Acrylic stands, button badges, and stickers are easy to make, look polished, and are simple to hand out. Let's be clear first: flat goods are still the mainstay of any merch lineup. Recommending 3D here is not about replacing them — it's about adding another way to show your work.
When you turn your character into something three-dimensional, viewers see not just the front but the profile, the back, the flow of the hair, and the silhouette of the outfit. Bringing your character out of the screen and into space is an experience that flat goods can't quite deliver.
Flat goods vs. 3D at a glance
Flat goods, digital 3D, and physical 3D prints each have different strengths. Here is the big picture first.
| Comparison | Flat goods (acrylic stand, badge) | Digital 3D (model data) | Physical 3D (print) |
|---|---|---|---|
| Upfront cost | Easy to make in small runs | Try it from a single piece | Varies by material and size |
| Time to finish | Days to weeks from submission | Data ready in minutes | Days to weeks to model and print |
| Inventory risk | Bulk orders mean stock to hold | Zero inventory (data only) | Only what you print |
| Best for showing | Physical display, handing out | 360° spin, social, web | Real-world presence, photogenic |
| Ideal use | Selling, giveaways, novelties | Prototyping, portfolio, promo | Keepsakes, made-to-order, one special piece |
The biggest strength of digital 3D is how light it is: zero inventory, same-day results. You can check whether an idea "looks good in 3D" without committing to a bulk order. If it lands, you can move on to a physical version — a natural, step-by-step approach.
How to choose an illustration that works well in 3D
Any drawing can be made 3D, but how satisfied you are with the result depends a lot on which original you pick. Keep these points in mind to avoid disappointment.
- The subject is clearly centered: Art where the character or motif sits in the middle of the frame with a readable outline works best.
- A front or slightly angled composition: Pure side or pure back views give little information about the hidden faces, and the AI can't always fill that in during the 3D step.
- Contrast in color and outline: A drawing with clear colors and lines is easier to read than one with only faint pencil strokes.
On the flip side, knowing that extremely thin effect lines and vague expressions like transparency or smoke are hard to reproduce in 3D helps you set the right expectations. Start with your single favorite piece, and once it works, branch out to other compositions.
Steps to turn an illustration into 3D
Here is the basic digital 3D flow, which you can follow even without any expertise beyond drawing. There is no need to install 3D software or learn modeling (the work of building an object in 3D) — it all happens in the browser.
Step 1. Choose the illustration to make 3D (about 5 min)
Pick a single image where the character or subject is clearly visible. Art with a readable outline works better than a busy background. If the full body is in frame, the overall balance is easier to get right in 3D.
Step 2. Prepare the image (about 5 min)
Digital line art and color illustrations can be used as-is. For art drawn on paper, shoot it straight on in a bright spot, avoiding shadows and paper curl. This small step makes conversion noticeably more stable.
Step 3. Convert to a figurine-style image (about 1–2 min)
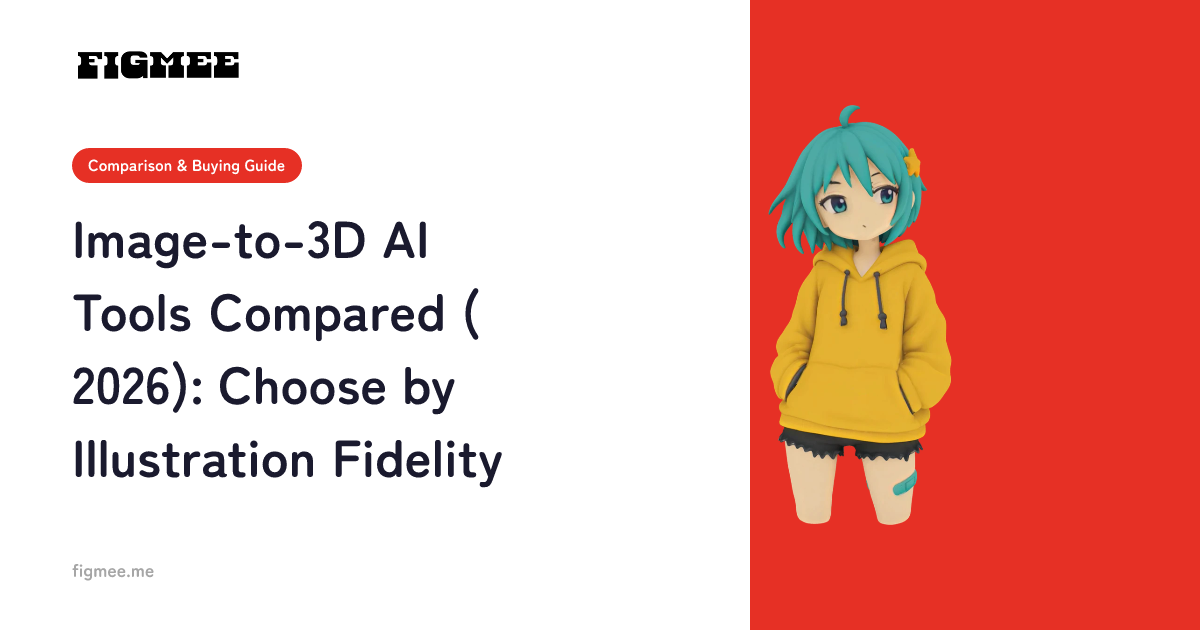
Upload your illustration to Figmee, and the AI converts it into a figurine-style image with a sense of depth. This is where you first get a feel for how it looks in 3D. Figurine-style image generation is free for your first 5 tries as a sign-up perk (valid for 3 months from registration); after that it is 550 yen for 5 credits.
Step 4. Generate the 3D model (a few min)
Once you like the result, generate a 3D model (GLB / 3MF, the file formats for a three-dimensional object). This is the "source" data you can later spin around or output through an external service. Generating a 3D model is 550 yen per model and includes the GLB / 3MF downloads.
Step 5. Check it in 360° view (about 5 min)
You can spin the generated 3D model in the viewer and check it from every angle. If an angle looks off, it's easy to redo with a different illustration or composition. If you want a wider look at your options for going 3D (handmade, 3D modeling, AI 3D), see the complete guide to making original figurines.
Ideas for showing and enjoying your 3D piece
A finished 3D piece isn't just for display. Being digital opens up ways to present it.
- Share a 360° video on social media: You can export the generated 3D model as a spinning 360° video and post it to X (formerly Twitter), Instagram, and other platforms. That gives you a motion-filled announcement, unlike a still photo of an acrylic stand.
- Line it up in a portfolio or gallery: Showing your work in 3D leaves a different impression than a flat collection. You can also share it in Figmee's public gallery.
- Use it as event promo material: Adding a 3D visual to a new-release banner or a menu of goods helps it catch the eye in a busy feed.
If flat goods are for "handing out and delivering," digital 3D is material for "getting seen and shared" — thinking of it as a division of roles makes the picture clearer.
The path to physical goods
If you want a physical version, not just data, you can take the generated 3D model data (GLB / 3MF) to an external 3D print service. Note that printing has its own quirks — thin lines and thin parts break easily. For tips on preparing your data for output, see what to watch for when turning an illustration into 3D print data. For how to think about a truly one-of-a-kind piece, the guide to making a one-off figurine is also worth a read.
A word on rights. Making 3D goods assumes the character or artwork is your own, drawn by you. Turning someone else's copyrighted work — such as a popular character — into 3D and distributing it requires the rights holder's permission. For fan works, check the guidelines for each title. For the basics of rights when you consider distributing or selling, see notes on AI 3D conversion and copyright.
Note: Figmee currently offers figurine-style image generation and 3D model data (GLB / 3MF) downloads. Physical 3D print ordering is Coming Soon.
Frequently asked questions
Can I make something 3D even if I've only made acrylic stands and badges?
Yes. You don't need any knowledge of 3D software or modeling — just upload an illustration and build a 3D model in the browser. If you've made flat goods before, you've already got the "choose and prep the art" steps down, so the bar for going 3D feels even lower.
Should I start with digital 3D or a physical figurine?
Start with digital 3D. Because it carries no inventory and finishes from a single piece in minutes at low cost, you can casually test how it looks in 3D. If it feels right, you can move on to outputting that data physically through an external service.
Will thin lines and complex back views come out cleanly in 3D?
Honestly, extremely thin lines and complex back views with little information are cases AI struggles with. Rather than chasing perfection, choose a composition that clearly conveys the subject's features for a more satisfying result.
Can I post my 3D piece on social media?
Yes. You can export the generated 3D model as a spinning 360° video, so you can post it straight to social media. It's a different way to present your work than a still image, and it tends to change how followers respond.
Summary
Your illustration can become not only flat goods like acrylic stands and badges, but also something three-dimensional. Digital 3D in particular is appealing for how light it is — zero inventory, low cost, done in minutes — letting you try out your character in 3D. Pick the one illustration you most want to show, and start with converting it into a figurine-style image.