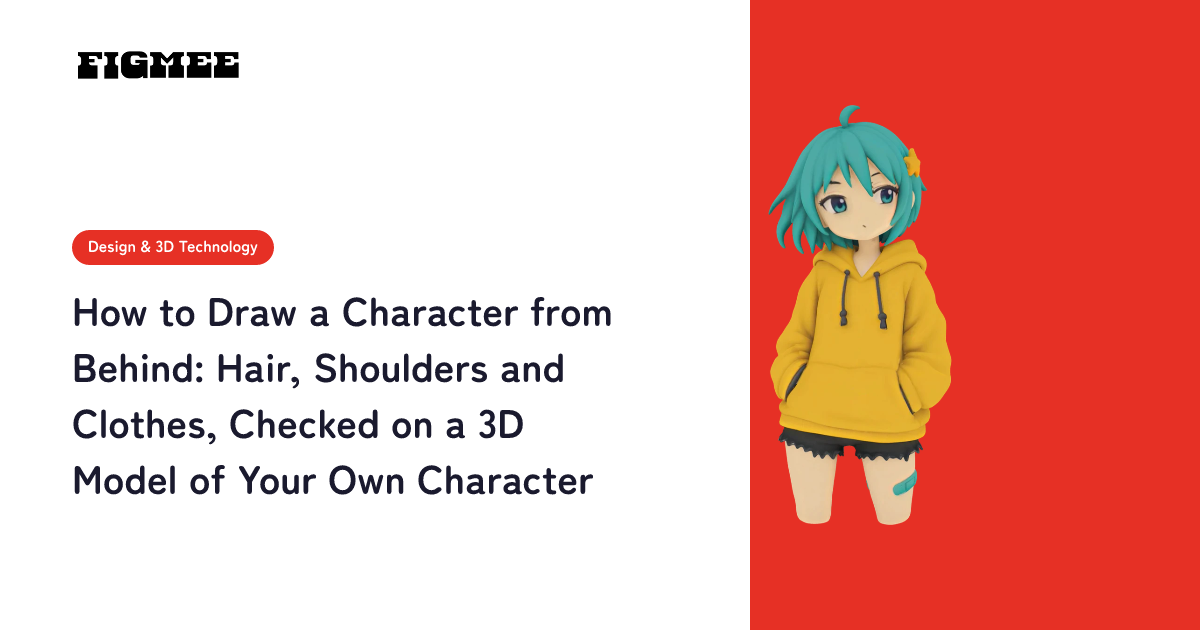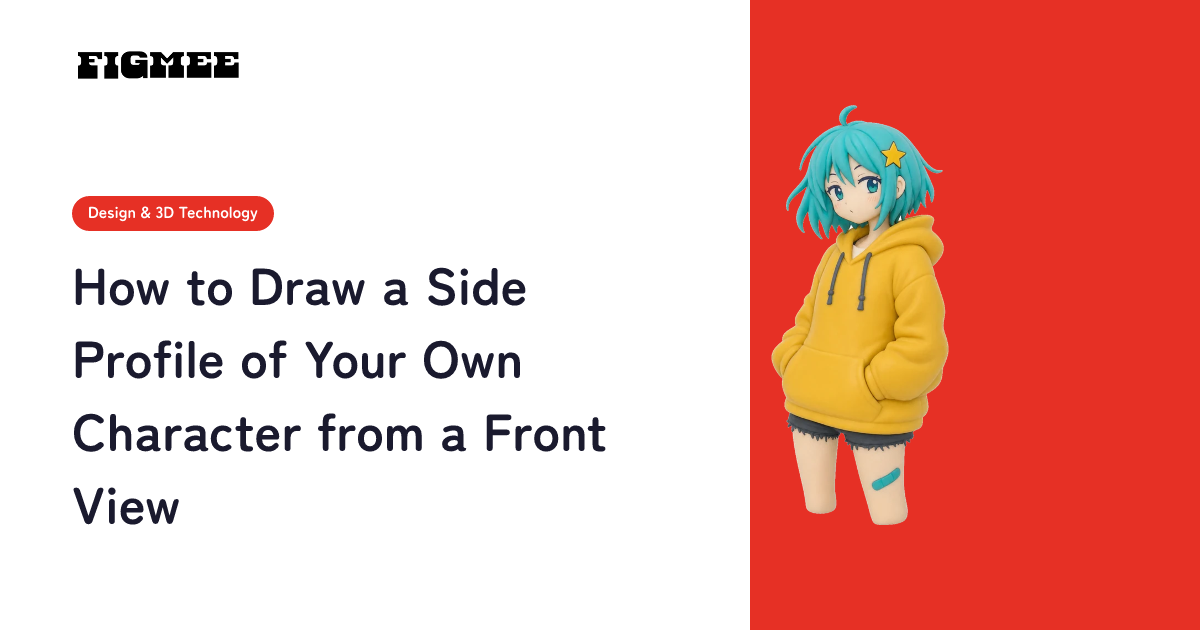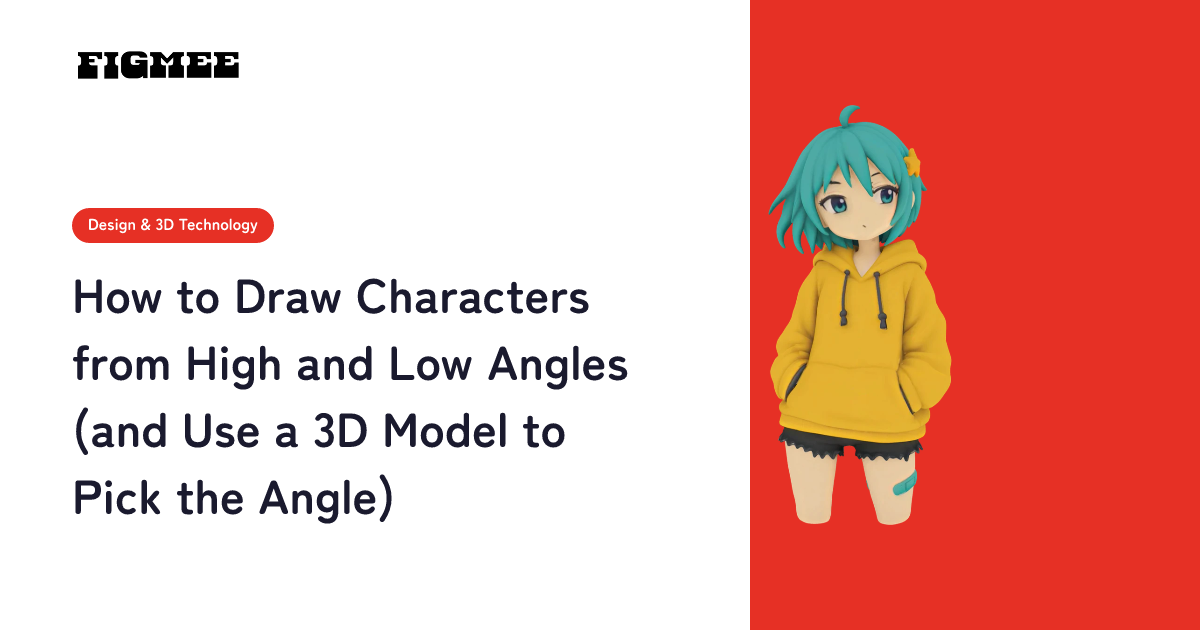
A good drawing mannequin alternative for an original character is a 3D model built from your own drawing of that character. It carries your character's proportions, hair, outfit and props, and you can rotate it to the angle you want to draw. With Figmee you can make one from a single front-facing drawing (your first 3D model per account is free; after that a model costs 5 tokens), then spin it in the browser left, right, up and down, including steep overhead and low worm's-eye views. The trade-off: the model has no skeleton, so it stays in the pose of the original drawing. For working out new poses, a jointed mannequin or a posing app is still the better tool.
This guide covers what a mannequin cannot tell you, how to build a 3D model of your character and find your angles (with rough timings), how to check lighting, what to do when you need a different pose, and how to split the work between the two tools.
Note: Figmee currently provides figurine-style images made from your drawings, 3D model data (GLB / 3MF) and turntable videos of the model. Ordering physical 3D prints is Coming Soon. Photographs and images that look like photographs are not supported as input.
What does a drawing mannequin not give you?
A mannequin cannot give you your character. It shows how a body bends and balances, but it has a generic build and no hairstyle, costume or props.
A drawing mannequin is a doll with joints that move the way human joints do; unlike a live model, it can hold the same pose for as long as you need, which is why artists use it as a pose reference when drawing people (Wikipedia (Japanese), "デッサン人形"). The 3D drawing figures built into some painting software go a step further. Clip Studio Paint's official feature page, for example, says its 3D drawing figure can be changed to a slimmer or fuller build and different head-to-body proportions, and posed for use as an underdrawing (Clip Studio Paint, "Main features" (in Japanese)). Even so, it does not know how your character's bangs overlap, how much hair sits at the back, or how the sleeves and hem are shaped.
These are the questions that usually stall a drawing of your own character:
- From a three-quarter back view, how much of the back hair shows?
- Looking down from above, how do the bangs and the crown of the head overlap?
- Looking up from below, what is visible under the chin and inside the sleeves?
- On a character with short proportions, where do the arms and legs disappear behind the body?
A mannequin answers how joints bend and where the weight sits. It cannot answer what your character in particular looks like from that angle.
How is a 3D model of your own character different?
A 3D model built from your drawing already contains your character's proportions, hairstyle, outfit and props. Turn it to the angle you need and you get the overlaps and silhouette for that view straight away. In exchange, the pose is fixed to the original drawing, and any side the drawing does not show has been filled in by AI.
The viewer on each artwork page in Figmee lets you:
- Drag to rotate through 360°. It turns up and down as well as left and right, so you can stop at a near top-down view or a low angle from the feet
- Zoom with the mouse wheel or a two-finger pinch, close enough for a face close-up
- Start and stop auto-rotation with the button at the bottom right
- Change the overall brightness with a slider
Here is how the three tools compare:
| Point of comparison | Drawing mannequin (wood, etc.) | 3D drawing figure or posing app | 3D model of your character (Figmee) |
|---|---|---|---|
| Your character's design | None (generic body) | Some let you change build and proportions; no hair or outfit | Proportions, hair, outfit and props included |
| Pose | Bend the joints | Change on screen | Fixed (the original drawing's pose) |
| Angle | Turn the figure or move yourself | Rotate on screen | Rotate on screen in every direction |
| Light | Move a lamp in the room | Depends on the software | Overall brightness only in Figmee; light direction in Blender |
| How you pay | Buy the figure once | Depends on the software or app | Per model: first one free, then 5 tokens |
| Best for | Working out the body in a new pose | Pose and angle at the same time | Drawing an established character from many angles, many times |
How do you make a 3D model of your character and find your angles?
Pick one full-body, front-facing drawing, turn it into a figurine-style image and then a 3D model, rotate the model in the viewer to the angle you want, and use a screenshot as an underlay. From choosing the drawing to having your first angle reference takes roughly 20–30 minutes. Nothing needs installing; it all runs in the browser on a computer or a phone.
Step 1: Choose one drawing to convert (about 5 minutes)
A full-body drawing facing the viewer, or turned only slightly, works best. One character, arms held a little away from the body, and a white or plain background make the shape easiest to read. If your character's hair or outfit has drifted from drawing to drawing, choose the one closest to the current design, because the reference will follow that single image.
A drawing on paper works too, as a phone photo or a scan. Files can be PNG, JPEG or WebP, up to 20MB each. Photographs of real people, animals, objects or scenery, and images that look like photographs, are stopped by an automatic check, and the tokens used are returned automatically. For more on choosing a drawing, see our complete guide to turning an illustration into 3D.
Step 2: Generate the figurine-style image and check the face and outfit (about 2–3 minutes)
Upload the drawing, pick a quality level — Standard, Pro or Max — and generate. Standard costs 1 token, Pro 2 tokens and Max 3 tokens, and the 5 free tokens you get when you sign up (valid for 3 months) are enough to try it.
Check the figurine-style image for the face, hairstyle and the colors and shapes of the outfit. If something is off, regenerate now. The 3D model is built from this image, so fixing problems before the 3D step is the way to avoid wasting tokens.
Step 3: Generate the 3D model (a few minutes)
Once the image looks right, generate the 3D model. Your first model per account is free; after that a model costs 5 tokens, and 5 tokens cost $5.99. If generation fails, the tokens are returned automatically. The model is saved with the artwork, so you can reopen it and rotate it whenever you need it.
Step 4: Find your angles in the viewer (about 5–10 minutes)
On the artwork page, drag the model to the angle you want to draw. Going through these views in order shows you the quirks of your character's shape:
- Side view: the depth of the bangs and back hair, and the line from chin to neck
- Three-quarter back: how much back hair shows, and any details on the shoulders and back
- Straight back: the flow of hair on the back of the head, and the back of the outfit
- High angle: how the crown and bangs overlap, and how the shoulders read from above
- Low angle: the underside of the chin, and the inside of sleeves and hems
Keep auto-rotation off while you search. For a face close-up, zoom in with the wheel or a pinch before you set the angle. If dark hair or clothing is hard to read, raise the brightness slider.
Step 5: Take a screenshot and use it as an underlay (5 minutes and up)
Screenshot the angle you want and bring it into your painting software. There are two ways to use it:
- As an underlay: put it on a low-opacity layer and take only the proportions and overlaps from it
- Side by side: park it next to the canvas and draw while looking at it
Either way, draw your own lines instead of tracing. Trace the render's outline and the shapes you exaggerate in your own style get pulled back toward the model's shapes. If you draw the same character across a series, capture your usual angles in one session — front, front three-quarter, side, back three-quarter, back, high angle and low angle — so every page starts from the same shape. For a broader look at drawing from 3D, including camera work and consistency, see how to use a 3D model as an illustration reference.
Screenshots work well for any single angle you like. When you want the front, both sides and the back together in one file, use "Save reference sheet (4 views)" on the artwork page: it saves one PNG on a white background showing the 3D model from the front, right side, back and left side, shot without perspective distortion so the side proportions are easy to compare. Saving it costs no tokens. What it shows is still the 3D model itself, including the parts AI filled in. Also, if your original drawing faces diagonally, the two side views may not come out as clean profiles.
How do you check how light falls on your character?
The Figmee viewer only changes overall brightness; there is no control for the direction of the light. To see where shadows fall when light comes from a particular side, save the GLB, open it in Blender and place a light.
- Save the GLB: on the artwork page, choose Save, then 3D model (GLB). Saving costs no extra tokens.
- Import it into Blender: use File > Import > glTF 2.0 (.glb/.gltf). The full steps and the usual snags are in our guide to taking a Figmee GLB into Blender.
- Add one light: Blender's light types are Point, Spot, Area and Sun. A Sun light shines in a single direction as if from infinitely far away, and you change its direction by rotating it like any other object (Blender Manual, "Light Objects").
- View it in Rendered mode: Material Preview lights the scene with an HDRI environment, and whether it uses the lights you placed depends on its Scene Lights setting. To be sure you are seeing your own light and its shadows, switch viewport shading to Rendered, which renders the viewport with the scene's render engine (Blender Manual, "Viewport Shading").
One more thing to know is the metallic sheen. Opened in other software, a Figmee GLB can show edges that shine like metal because of its material settings. The Figmee viewer displays models with metalness corrected to 0, so setting Metallic to 0 on the Principled BSDF material in Blender brings the look closer to the viewer. Metallic runs from 0, a non-metal material, to 1, a fully metallic reflection (Blender Manual, "Principled BSDF").
What if you need a different pose?
Figmee's 3D models have no skeleton (rig), so the pose stays as drawn and cannot be changed inside Figmee. If you need to check angles in a different pose, the most reliable route is to build a new model from a drawing in that pose.
- Rebuild from a drawing in the new pose: Figmee takes one drawing per generation. Draw the full body in the pose you need and run it through the same steps from Step 1. Poses where the arms or legs overlap the body heavily can come out with parts fused together, so poses with fewer overlaps make better references.
- Rig it in Blender: import the GLB into Blender, add a skeleton and pose it there. This takes time to learn; our explainer on what rigging is covers the basics.
If you would like to see a pose idea as an image before you draw it, you can also register the character and generate new poses that try to keep its look, as explained in how to keep the same face across new poses of an AI-made character.
At the stage of inventing a pose, a jointed mannequin or a posing app is still faster. A good combination is to settle the pose with the mannequin, then check how the hair and outfit read on the 3D model of your character.
When should you use a mannequin, and when a 3D model of your character?
Use a mannequin or posing app to work out the body in a new pose, and a 3D model of your character to draw an established design from different angles. When one drawing needs both, set the pose with the mannequin and check the head, hair and outfit on your character's model.
| What you are drawing | Tool | Why |
|---|---|---|
| A new pose (running, sitting, looking back) | Mannequin or posing app | You can bend the joints into the pose |
| Your character standing, seen from the back or three-quarter back | 3D model of your character | The back hair and the back of the outfit are already there |
| Face and hair from a high or low angle | 3D model of your character | You can rotate to see the crown and the underside of the chin |
| Light direction and shadow shapes | Blender (with the GLB) or other software where you can place lights | The Figmee viewer only changes overall brightness |
| The same character across a series | 3D model of your character | Every drawing starts from the same shape |
For angle-by-angle drawing advice, see our guides to drawing a character from behind, drawing a side profile and drawing characters from high and low angles.
Who this suits, and who it does not
- Suits: artists who draw the same original character again and again, anyone who gets stuck on hair and clothing at angles other than the front, and anyone who wants a rough 3D sense of the character before drawing a turnaround
- Does not suit: pose study (the pose cannot be changed), anyone who needs the unseen sides to match their design exactly (those parts are filled in by AI), and anyone who needs a model that moves (there is no skeleton, and VRM export is not available)
What should you watch out for when drawing from the model?
A 3D model of your character is a reference for blocking in, not the right answer. Sides the drawing never showed are AI guesses, thin parts can thicken or disappear, and a manga-style face can look odd from the side.
- The back is a guess: you give Figmee one drawing, so the back is filled in by AI. Where it disagrees with your design, your design wins.
- Thin parts: hair tips, antennae and narrow ribbons can break off or thicken.
- Manga-style faces: large eyes and a tiny mouth are drawn to look good from the front, and once made solid they can look strange in profile. That is less an AI error than the flat-only parts of the original style becoming visible, as explained in why illustrations are hard to turn into 3D. When you draw the face, follow how you draw faces, not the model.
- Events: some doujin events do not allow AI-generated material in the works you sell or display. Keep the model as a drawing reference and draw the art yourself. How the rules work at COMITIA is covered in our guide to preparing for COMITIA 158.
Frequently asked questions
Do I still need a drawing mannequin?
Yes. The 3D model of your character cannot change pose, so for working out the body in a new pose a mannequin or posing app is the right tool. What your character's model is good at is showing an established design — hair, outfit — from many angles. They are different tools for different jobs, not replacements for each other.
Can I change the model's pose or expression?
Not inside Figmee. The model is shape-and-color data and does not support rigging or animation. To check a different pose, build a new model from a drawing in that pose, or import the GLB into Blender and add a skeleton there.
What does it cost?
You get 5 free tokens when you sign up (valid for 3 months from registration, granted on first registration only), and a figurine-style image costs 1–3 tokens depending on quality. Your first 3D model per account is free; after that a model costs 5 tokens. Extra tokens cost $5.99 for 5. Rotating the model in the viewer, saving the GLB and exporting a turntable video cost no extra tokens.
Can I 3D print it and use it like a physical mannequin?
Ordering physical 3D prints from Figmee is Coming Soon and not available yet. The 3MF file you can save is meant for your own 3D printer or an output service that accepts 3MF, and whether it prints as-is depends on the printer and software. It also has no joints, so the pose cannot be changed.
Summary
A drawing mannequin is for working out body structure and poses; a 3D model of your own character is for checking an established design's hair and outfit from many angles. In Figmee you can make the model from one drawing, rotate it in the browser, and use screenshots of your angles, or the four-view reference sheet PNG, as underlays. Use Blender for light direction and shadows, and a mannequin or a new drawing for new poses.
Your first 3D model per account is free. Start with the character you draw most and turn it to the angle that always gives you trouble.
Sources
- Wikipedia (Japanese), "デッサン人形" (drawing mannequin): what a drawing mannequin is and how artists use it
- Clip Studio Paint, "Main features" (in Japanese): changing the 3D drawing figure's build and proportions, and posing it
- Blender 5.2 LTS Manual, "Light Objects": light types and how a Sun light's direction is set
- Blender 5.2 LTS Manual, "Viewport Shading": Material Preview, Scene Lights and Rendered mode
- Blender 5.2 LTS Manual, "Principled BSDF": what the Metallic value means