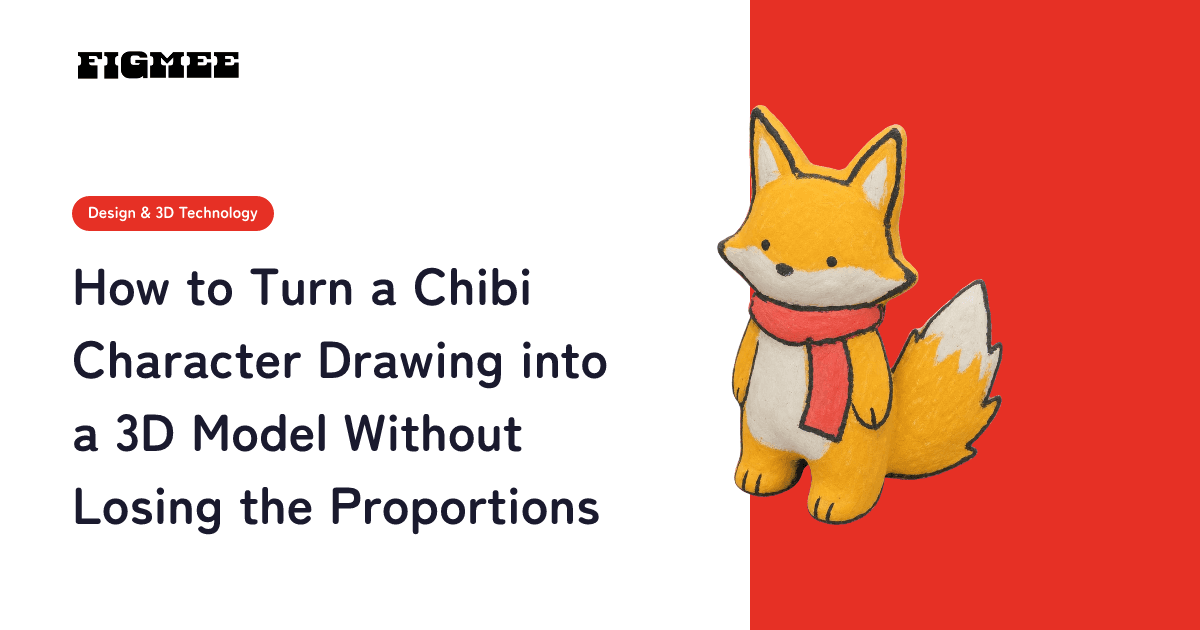
Chibi characters (super-deformed characters about 2–3 heads tall) are a good fit for turning a drawing into 3D, because the head is large, the body reads as one compact mass, and there are few thin parts. The trick is to use one full-body drawing where the short limbs and thin accessories are attached to the body, and to check that the proportions survived at the figurine-style image stage before you generate the 3D model.
On the other hand, tiny hands, ahoge strands and ribbon ends, and big eyes are the spots that tend to break or look odd in 3D. This guide covers why chibi characters suit 3D and where they break, how to draw them so they convert well, what happens to head-only art, the order to check things in, and what you can do with the finished 3D.
Note: Figmee currently offers figurine-style images made from your drawings, 3D model data (GLB / 3MF), and turntable videos of your 3D models. Ordering physical 3D prints is Coming Soon. Photos of real people, animals, objects, or scenery, and images that look like photos, cannot be turned into 3D.
Are chibi characters a good fit for 3D?
Yes. The head and body are drawn as big masses with the small details left out, so the shape is relatively easy to infer from a single drawing. The catch is that exaggerations that only work on paper, such as huge eyes or hands simplified into round shapes, don't always hold up in 3D. Knowing both the strengths and the weak spots before you draw saves you from redoing things.
Chibi characters, also called mini characters or SD (super-deformed) characters, are characters drawn with sharply shortened proportions. A drawing guide from Celsys, the company behind CLIP STUDIO PAINT, describes mini characters as "character illustrations about 2 heads tall" and treats chibi and SD characters as other names for the same thing. According to the same guide, characters from high-school age to adult are often drawn 6–8 heads tall, while mini characters are drawn about 2 heads tall whatever their age. It also notes that at 2 heads tall, the complex parts of outfits and decorations can't be drawn in detail, so they are deformed or left out (our translation; source: Illustration & Manga Drawing Navi, "Easy for anyone! How to draw cute mini and chibi characters (2 heads and 1.5 heads tall)" (in Japanese), checked November 7, 2026).
That habit of dropping details and showing the character as big shapes works in your favor in 3D. When AI builds a 3D shape from one drawing, what it struggles with are thin protrusions and compositions where parts overlap a lot. Deformed characters with clear, chunky shapes fall on the side that tends to work. For an overview of the shapes AI finds hard, see Why People Say Illustrations Can't Be Turned into 3D.
For the overall workflow from an illustration to a figurine-style image and a 3D model, see the complete guide to AI figurine-style creation.
Which parts tend to break?
Three things tend to break: tiny hands and feet, thin accessories such as ahoge strands and ribbon ends, and big eyes. Hands and feet tend to merge with the body into one lump, thin accessories break off or blend into their surroundings, and big eyes can look odd from the side. In each case, something that is correct as a drawing often doesn't hold up well as a solid shape.
| Chibi feature | What happens in 3D | What to do when drawing |
|---|---|---|
| Big head, round outline | Easy to capture as one large mass | Keep it. Draw the outline clearly |
| Short limbs, hands simplified into round or trapezoid shapes | If they overlap the body, they tend to fuse with it. Thin bits like fingers tend to blend into their surroundings | Leave a gap between the arms and the body. Simplified hands are fine as they are |
| Ahoge, ribbon ends, antennae, small weapons | Thin parts tend to break off or blend into their surroundings | Draw them thicker and attach them to the body. Leave them out if you don't need them |
| Big eyes | They look cute from the front, but from the side they may not match the curve of an eyeball and look odd | Keep the eyes as drawn, and pick front-leaning angles when you show the model |
| Very small body (1.5 heads tall, etc.) | The thickness of the neck and torso is hard to read from the drawing, so more of it is likely left to the AI's guesswork | Draw the width of the body and the position of the feet clearly |
| Back of the head, decorations on the back | The AI fills in the side you didn't draw, so it may differ from what you intended | Spin the model to check, and fix the drawing if it's off |
| Flat fill only | Few depth cues, so the shape tends to come out soft | Prepare a version with one light direction and one layer of shadow |
The odd look of big eyes is less an AI mistake than a flat design becoming visible in 3D, so when something breaks, check whether that part is drawn in a way that can exist as a solid shape; that tells you what to fix.
The Celsys guide also recommends, for 1.5-heads-tall characters, drawing "the tips of the hands and feet as round tubes, leaving out the shapes of fingers and shoes" (source as above). Round limbs without separate fingers have fewer thin protrusions, so they are likely to hold together better in 3D as well.
How should you draw a chibi character so it converts well?
Draw the full body in a plain standing pose, leave gaps between the limbs and the body, and make thin accessories thicker, shorter, and attached to the body. Add one layer of shadow and keep the background plain. Drawing a separate image just for 3D, apart from your polished artwork with an elaborate composition, gives more stable results.
- Show the whole body in a plain standing pose: fit everything from head to toe in the frame, drawn from the front or at a slight angle. If the feet are cut off by the frame, their shape is left to the AI's guesswork.
- Leave a gap between the arms and the body: poses with arms crossed in front of the body or hands touching the face make parts blend together. Chibi arms are short, so just holding them slightly away from the body is enough to separate the shapes.
- Make thin accessories thick, short, and attached: ahoge, ribbon ends, tail tips, and the handles of things the character holds break off more easily the thinner they are. Cutting down on detail is natural for chibi art anyway.
- Draw the eyes the way you always do: redrawing the eyes smaller changes what makes the character recognizable. The odd look only shows from the side, so adjust it with the viewing angle instead.
- Add one layer of shadow: a drawing with a set light direction and one layer of shadow gives more depth cues than flat fill alone.
- Use a plain background and a reasonably large image: background details get in the way of reading the outline. Small images make fine details hard to read. You can upload PNG, JPEG, or WebP images up to 20 MB each. A photo or scan of a paper drawing is fine.
What happens to a drawing of just the head or face?
A drawing of just the head or face generally becomes a head-only 3D model with no body. When the figurine-style image has no body, Figmee avoids adding one at the 3D model stage. If you want a full-body 3D model, use a drawing that includes the body.
A chibi face drawn like a social media avatar can be spun around as a head-only 3D shape as it is. That said, depending on the drawing, it may not be read as head-only, and a body may be filled in.
You can't add a body afterward inside Figmee, because there is no feature for changing the shape of a 3D model or splitting it into parts. To add a body, either make it again from a drawing that includes the body, or import the GLB into 3D software such as Blender and work on it there.
In what order should you make and check things?
Four steps: choose the drawing, check the proportions in the figurine-style image, generate the 3D model, then spin it to check. Plan on about 20–40 minutes in total. If the proportions or the number of limbs are off, stopping at the image stage, before you move on to the 3D model, uses fewer tokens.
- Choose and prepare one drawing for 3D (10–30 minutes): following the tips above, prepare a full-body drawing in a plain standing pose on a plain background
- Create the figurine-style image and check the proportions (2–3 minutes): choose Standard, Pro, or Max quality and click "Generate 3D Image" (Standard costs 1 token, Pro 2 tokens, Max 3 tokens). Check that the head-to-body ratio matches your drawing, along with the number and direction of the limbs, the accessories, and the shape of the eyes. If something is off, fix the drawing and make it again at this stage
- Generate the 3D model (a few minutes): once you're happy with the image, click "Generate 3D Model". A 3D model costs 5 tokens, and your first one is free (one per account)
- Spin it in the viewer to check (5 minutes): drag to rotate 360°, tilt it up and down to look from below or above, and zoom in as close as the face. Look at the side view, the back of the head, where the limbs join the body, and whether thin accessories have broken off
The reason to stop at the image stage is cost. A figurine-style image costs 1–3 tokens depending on quality, and a 3D model costs 5 tokens, so remaking the image takes fewer tokens than moving on to 3D with an image whose proportions are wrong.
Pricing: new accounts receive 5 free tokens (valid for 3 months from sign-up; first sign-up with an email address only), and additional tokens cost $5.99 for 5. If a generation fails, the tokens are refunded automatically.
What can you do with a chibi 3D model?
You can post a turntable video on social media, use it as reference for the shape and angle of merch, use the GLB in 3D software or games, and print the 3MF on your own 3D printer. It has no skeleton (rigging) for animation, so it isn't suited to use as an avatar that moves.
| Use | What you use | Things to watch |
|---|---|---|
| Posting on social media | Turntable video (about 6 seconds, two full turns, square, no tokens) | Export works in Chrome and Edge on computers and Chrome on Android. Safari (including iPhone and iPad) and Firefox may not support it |
| Prototyping merch, choosing angles | The in-browser viewer | Find the angle you like and use it as reference art for flat merch such as acrylic stands |
| Using it in 3D software or games | GLB (shape and color in a single file) | No skeleton. You can't save as VRM, FBX, OBJ, or STL |
| Printing on your own 3D printer | 3MF (longest side 80 mm, includes color information) | How much color is read depends on the slicer. Ordering physical 3D prints through Figmee is Coming Soon |
| Making another pose | Register the character (free) and describe the pose in text | A 3D image costs 1–3 tokens, and a 3D model made from it costs 5 tokens |
For where 3D helps in fan-made merch, see How to Make 3D Models for Fan Merch, which breaks it down by use. The smaller you print a chibi character, the thinner its accessories get, so before printing a 3MF, check the thickness guidelines in How to 3D Print an Illustration. How to make new poses while keeping the same look is explained in How to Give Your AI-Made Character New Poses with the Same Face.
Frequently asked questions
Q. Can I make a 3D model of a character that's 1.5 or 4 heads tall? A. Yes. Whatever the proportions, you can start from one full-body drawing. The result won't always match your drawing's proportions, though, so check the head-to-body ratio at the figurine-style image stage and remake it before moving on to the 3D model if it's off.
Q. Can I turn a chibi line drawing with no color into 3D? A. You can upload it, but the AI will decide the colors. If you want the 3D model in colors you chose, it's more reliable to add at least flat base colors before uploading. See Can You Make a 3D Model from Line Art? for details.
Q. Can I animate the chibi 3D model? A. No. Figmee's 3D models are shape-and-color data without a skeleton (rigging). The only formats you can save are GLB and 3MF, and VRM isn't supported.
Summary
Chibi characters are drawn as big masses with the details left out, which makes them a good fit for 3D from a single drawing. The parts that tend to break are tiny limbs, thin accessories, and big eyes. A full-body drawing with gaps between the arms and the body, thin accessories made thick, short, and attached, and one layer of shadow gives more stable results.
When you make it, check the proportions and limbs at the figurine-style image stage before moving on to the 3D model. Head-only art generally becomes a head-only 3D model, so if you want the full body, use a drawing that includes it.