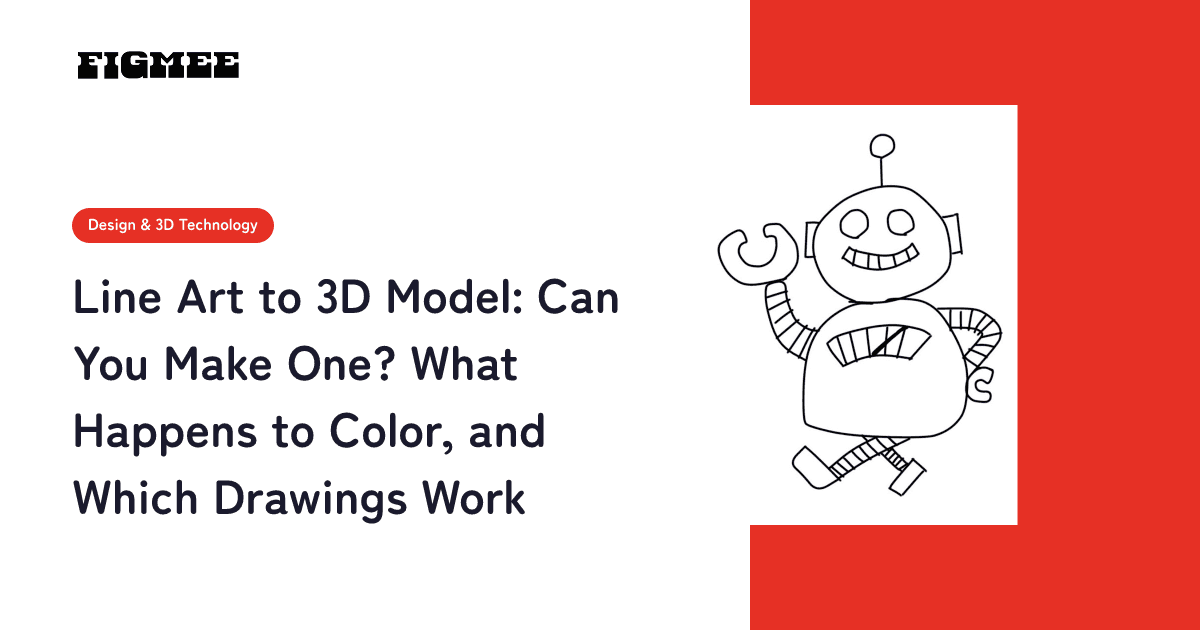
Yes, you can make a 3D model from line art alone. But if you upload line art with no color, the AI ends up deciding the colors of the 3D model, and they may not match what you had in mind. If you want to choose your character's colors yourself, the reliable approach is to add at least flat base colors before you upload.
This guide covers what happens when you upload uncolored line art, how to add base colors when you want to pick them yourself, which line drawings convert well, and the steps from a sketch to a 3D model. How much of the texture of your lines survives is covered in detail in another article, so a later section, "How much of the line texture survives?", only touches on the key points.
Note: Figmee currently offers figurine-style images made from your drawings, 3D model data (GLB / 3MF), and turntable videos of your 3D models. Ordering physical 3D prints is Coming Soon. Photos of real people, animals, objects, or scenery, and images that look like photos, cannot be turned into 3D.
Can you turn line art alone into 3D?
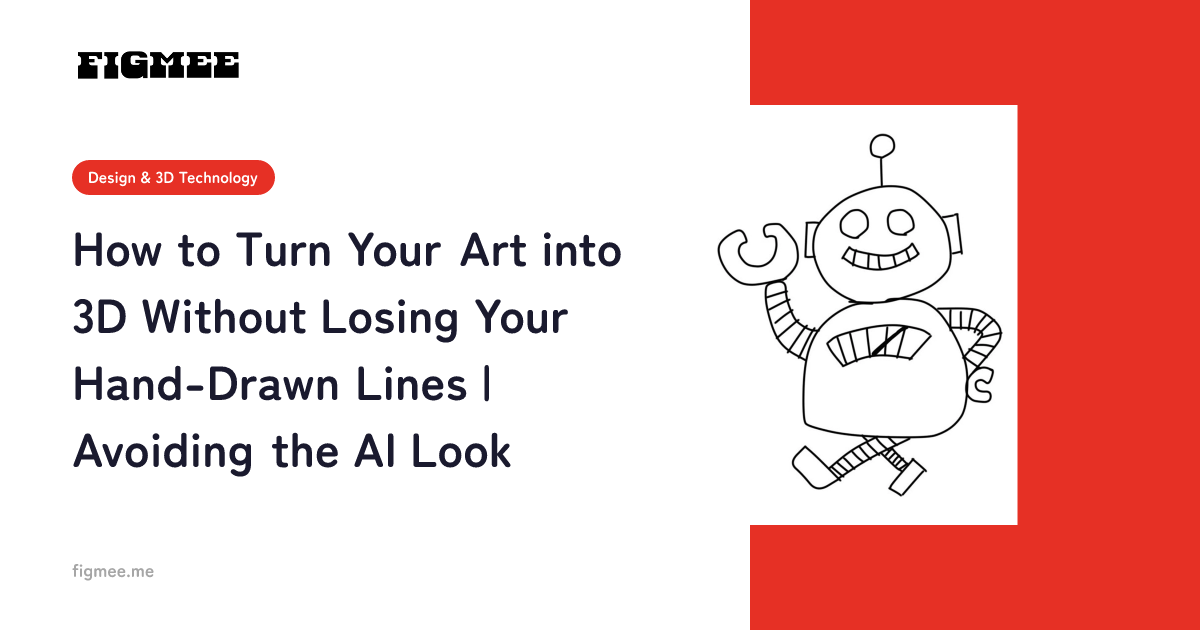
Yes. You can upload line art drawn on paper (photographed or scanned) as well as line art drawn digitally. Line art has no color or shading information, though, so the AI decides the colors and has to infer the 3D shape from the lines alone. Expect more variation in the results than with a colored drawing.
Figmee accepts drawings on paper (including images photographed with a smartphone or scanned) and digital illustrations (including anime and manga styles). You can upload PNG, JPEG, or WebP images up to 20 MB each. Black-and-white ink drawings are fine as they are.
The reason the shape varies more is the lack of cues. Research on generating 3D from images reports that most image-to-3D models "struggle to synthesize plausible 3D assets" when the reference image is flat-colored like a hand drawing, because it lacks the illusion of depth (source: Art3D: Training-Free 3D Generation from Flat-Colored Illustration, published April 2025, checked November 7, 2026). Line art doesn't even have filled areas, so it likely offers even fewer cues.
For the overall approach to turning illustrations into 3D, and which drawings work well or poorly, see How to Turn an Illustration into 3D (2026 Guide).
What happens when you upload uncolored line art?
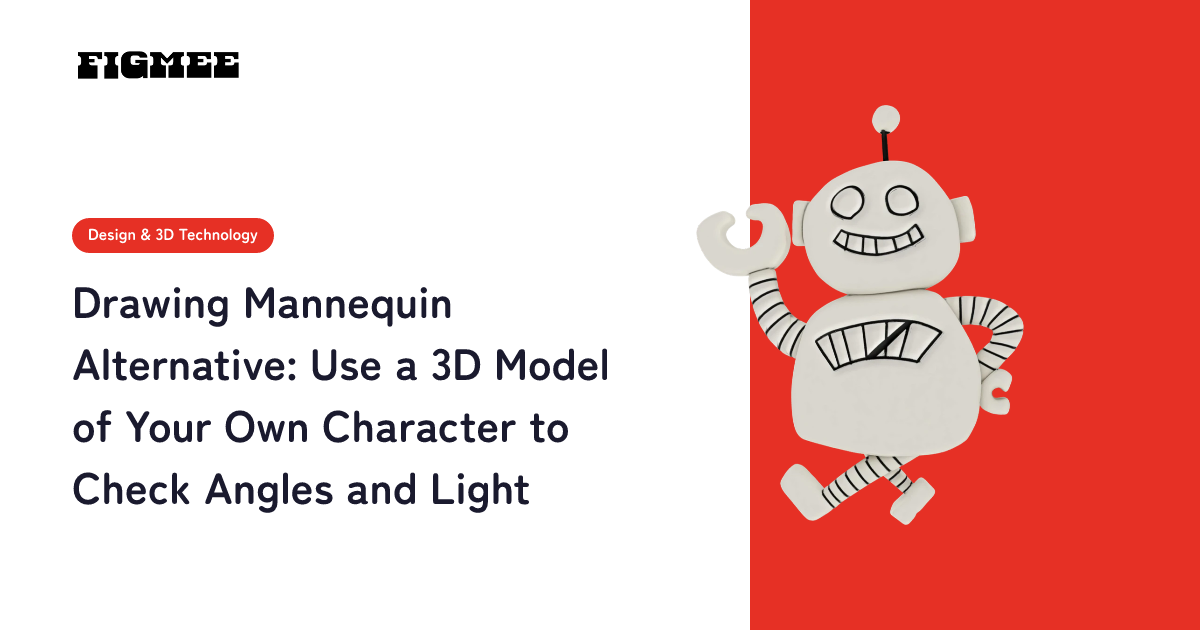
The AI decides the colors when it creates the figurine-style image. The 3D model is built from that figurine-style image, so the colors of the 3D model also come from what the AI chose. The colors and their intensity change each time you generate, and they may come out paler than you expected or different from your character's design.
Figmee works in two stages: illustration → figurine-style image (3D image) → 3D model. Figmee writes the instructions (prompt) for creating the image automatically, and there is no screen where you can edit them. In other words, there's no way to say "blue hair, red outfit" in text; the only way to communicate color is to paint it into the drawing.
The lines themselves end up in 3D as surface color, not as shape. In uncolored line art, almost everything that makes the character recognizable is carried by the lines, so when lines get blurred or break, the difference from the original drawing is likely to stand out more.
Here is what tends to happen for each state of line art, and what to do before uploading.
| State of the line art | What tends to happen | Recommended prep |
|---|---|---|
| Pencil sketch (light lines, overlapping strokes) | Lines are hard to pick up, so reading the outline and shape tends to be unstable | Consolidate the main lines into single strokes and prepare a bold, clean version |
| Inked line art (no color) | The shape is easier to read, but the AI decides the colors, and they change each time | Add base colors if you want to choose them |
| Line art + flat base colors | Your chosen colors come through. Shape cues are still limited | Set a light direction and add one layer of shadow for more stable results |
| Line art + color + shading | Both color and shape cues are present | Upload it as is |
How do you choose the colors yourself?
Put flat colors (skin, hair, clothes, and so on) on a separate layer from the line art, then upload. You don't need gradients or detailed rendering; one color per part is enough to tell the AI what you want. For a paper drawing, copy the line art, color it with markers or colored pencils, and photograph or scan that sheet.
Digitally, the fill tool makes base colors quick. The official CLIP STUDIO PAINT user guide says the Fill tool lets you "fill an area surrounded by lines or an area already painted with a single color," and that by changing its settings you can "close gaps between lines when filling" (source: CLIP STUDIO PAINT User Guide, "Fill Tool", checked November 7, 2026). The more closed your outlines are, the faster this base-coloring goes.
There are also ways to change the colors later.
- Remake it at the figurine-style image stage: if you don't like the colors, remake it from a drawing with added base colors before moving on to the 3D model. An image costs 1–3 tokens depending on quality and a 3D model costs 5 tokens, so fixing things at the image stage uses fewer tokens
- Paint directly on the 3D model: Figmee has "3D Model Coloring" (a subscriber feature) that lets you paint the model in your browser while rotating it. The painted result is saved as a separate version, and the original model is kept
- Repaint the texture in 3D software: import the GLB into Blender or similar software to repaint the surface color image (the texture)
Which line drawings convert well to 3D?
Three basics: the lines are bold and clear, the outline is closed, and one character is shown full body in a plain standing pose. It also matters that no background or hatched shading overlaps the character. All of these are conditions that help the AI read shape from lines.
- Bold lines, one stroke per edge: faint pencil lines and edges built from many overlapping strokes make it hard to tell which line is the outline. Prepare an inked version, or trace each main line once with a bold stroke
- A closed outline separated from the background: gaps in the outline make it harder to tell where the character ends and the background begins. They also make base-coloring harder
- One character, full body, in a plain standing pose: a front or near-front view with the arms not heavily overlapping the body works best. Avoid face-only close-ups and drawings where the frame cuts off the body
- No background, screentone, or hatching overlapping the character: in line art, background lines and hatched shading are black lines just like the character's own, so it becomes hard to tell where the character ends. When using a panel from a comic, crop a part where speech bubbles and tones don't overlap the character
- Watch out for thin lines and resolution: how extremely thin lines (as thin as a single hair) and low-resolution images are handled is explained in How to Turn Hand-Drawn Lines into 3D Without Losing Them
Where chibi characters (2–3 heads tall) tend to break when you make them 3D from line art is covered in How to Turn a Chibi Character Drawing into a 3D Model. For how to pick one drawing out of a batch of inked pieces, as in Inktober, see the section on choosing a drawing for 3D in Inktober 2026 Prompts and Rules.
What are the steps from a sketch to 3D?
Four steps: clean up the lines, add base colors if needed, check color and shape in the figurine-style image, then generate the 3D model and spin it. Plan on about 30 minutes to an hour, including base colors. If you don't like the colors, fix them at the image stage, before moving on to the 3D model.
- Clean up the lines (15–30 minutes): if it's a sketch, trace over the main lines to make a clean version and close any gaps in the outline. For a paper drawing, photograph it from directly above in a bright place or scan it
- Add base colors (10–30 minutes, optional): if you want to choose the colors yourself, place a flat color on each part. Setting a light direction and adding one layer of shadow gives more shape cues
- Check color and shape in the figurine-style image (2–3 minutes): upload the drawing, pick a quality ("Standard" 1 token, "Pro" 2 tokens, "Max" 3 tokens), and click "Generate 3D Image". Look at the colors the AI added and whether the face, hair, and items match what you had in mind; if not, fix the drawing (for example, add base colors) and make it again
- Generate the 3D model and spin it (a few minutes): click "Generate 3D Model" to get the model, then rotate it 360° in your browser (5 tokens; the first model on each account is free). Check whether thin parts drawn as lines, such as hair strands or antennae, have broken off
When you sign up, you get 5 free tokens (they expire 3 months after sign-up, and only the first sign-up with an email address gets them); when you run out, you can buy 5 more for $5.99. If a generation fails, the tokens you used come back automatically. The finished 3D model can be saved as GLB / 3MF and exported as a turntable video, both without spending tokens.
How much of the line texture survives?
Lines survive as surface color in 3D, but thin lines and the wobble of hand-drawn strokes tend to be smoothed out compared with the original drawing. The more a piece depends on the energy of its lines, the more it loses in 3D. What you can do to keep the lines mostly happens at the drawing stage: bold lines, varied line weight, and shading.
Where lines are stored in a 3D model, what you can do at the drawing and presentation stages to keep a hand-drawn feel, and what can't be kept no matter what are covered in detail in How to Turn Hand-Drawn Lines into 3D Without Losing Them. This article focuses only on what happens when you upload line art with no color, so if line quality matters to you, read that one too.
Frequently asked questions
Q. Can I specify colors in text? A. No. Figmee writes the instructions for creating the figurine-style image automatically, and there is no screen where you can edit them. If you want to choose the colors, paint them into the drawing before uploading.
Q. Can I make a 3D model of a character from a black-and-white comic? A. Manga-style illustrations are supported. The AI will decide the colors, though, so add base colors if you want to choose them. When cropping from a panel, pick a part that shows one character's full body with no background, screentone, or speech bubbles overlapping. You can only use drawings you made yourself or have permission from the rights holder to use.
Q. Can I make the 3D model from plain line art and add color later? A. Yes. With "3D Model Coloring," a subscriber feature, you can paint the model in your browser while rotating it and save the result as a separate version. You can also import the GLB into Blender or similar software and repaint the texture.
Summary
Line art alone can be turned into 3D, but with uncolored line art the AI decides the colors and infers the shape from the lines alone. If you want to choose your character's colors yourself, the reliable approach is to place a flat color on each part before uploading.
The line art that converts best has bold, clear lines, a closed outline, and one character shown full body in a plain standing pose. If the colors or shape are off, fix them at the figurine-style image stage before moving on to the 3D model, and you can remake it with fewer tokens.