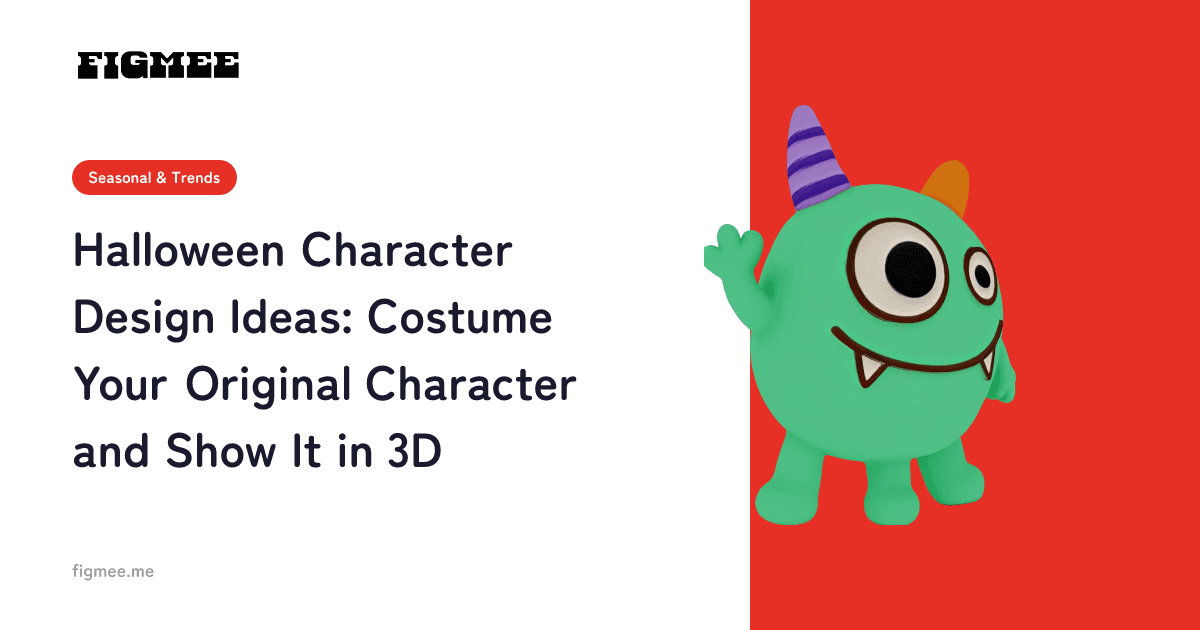
The easiest way to design a Halloween character is to pick one motif and translate it into three things: silhouette, color, and props. A witch reads instantly from the triangle of her hat; a vampire from a high-collared cape. Once you decide where that visual cue goes — in the outline, the palette, or something the character holds — you can dress up your character for Halloween without losing what makes it recognizable.
This guide walks through the classic motifs, three tips for giving an existing character a Halloween makeover, a rough-to-final workflow, and ways to show off the result. At the end, we cover how to turn your drawing into a figurine-style image and a 3D model.
Note: Figmee currently offers figurine-style images created from your drawings, 3D model data (GLB / 3MF), and turntable videos of your 3D models. Ordering physical 3D prints is Coming Soon.
Classic Halloween character motifs
Start with the motifs that carry the Halloween mood and the visual cues that define each one. You don't need all of them — choosing a single motif that fits your character is the starting point.
| Motif | Visual cues (silhouette and props) | Typical colors |
|---|---|---|
| Witch | Pointed hat, broom, cape, cauldron | Black, purple, a touch of green |
| Vampire | High-collared cape, fangs, bats | Black, red, white |
| Pumpkin (jack-o'-lantern) | Carved eyes and mouth, stem, round silhouette | Orange, black, green |
| Ghost | Flared sheet, outline with no legs | White, pale blue, gray |
| Black cat | Pointed ears, long tail, glowing eyes | Black, yellow |
| Mummy | Bandages wrapped around the body, loose trailing ends | Off-white, beige, brown |
| Frankenstein's monster | Neck bolts, stitches, flat-topped head | Green, black, gray |
| Grim reaper | Hooded robe, scythe | Black, gray, white |
Orange, black, and purple together are the most recognizable Halloween palette. If your character's original colors are far from these three, bringing them in through accents and props — as described below — keeps the character more recognizable than repainting the whole design.
Three tips for giving an existing character a Halloween look
When you put your own character in costume, limit what you change to three areas. That way you avoid the classic mistake of ending up with a design nobody can identify.
1. Silhouette: add just one cue to the outline
The outline you see from a distance shapes the impression of a character more than anything else. Add a single motif cue to it — a pointed hat, a cape, or cat ears. Adding a hat, a cape, and a tail all at once tends to bury the character's original outline. As a rule, keep the features that identify your character, such as the hairstyle and body proportions, unchanged.
2. Color: keep the original palette and add Halloween accents
Leave the hair and eye colors as they are, and bring orange or purple into the outfit, ribbons, or props. Repainting everything in black and purple may look very Halloween, but it makes the character harder to tell apart. Keeping most of the original palette and using Halloween colors as accents lets you have both.
3. Props: add the world through what the character holds or wears
A jack-o'-lantern, a broom, a candy basket, a bat hair clip — things your character holds or wears are the simplest way to bring in the Halloween world without altering the character itself. Choose them to match the personality, and the outfit starts to look like something the character picked rather than a generic costume. A mischievous character might carry a candy basket; a cool, aloof one might wear a vampire cape.
From rough sketch to final artwork
Working in this order keeps rework to a minimum.
- Choose one motif: pick one from the table above that suits your character's personality and original design.
- Sketch a few silhouette roughs: draw them as solid filled shapes and check whether the outline alone says both "Halloween" and "this is my character."
- Try color variations: starting from the original palette, test two or three placements for the accent colors.
- Add props and finalize: add props last, and make sure they don't hide the face or the pose.
If you keep one full-body, front-facing drawing from the rough stage, you can use it as-is when you later want to show the character in 3D.
Ways to show off your Halloween character
A finished character comes across better when you adapt it to where it will be seen.
- Post it for a Halloween event on social media: for the first image, choose a composition where the character's face and costume cues appear large. Full-body shots and close-ups of props can go in the following images.
- Use it as an avatar: avatars appear small, so crop so that the silhouette cue (the hat or the ears) stays inside the frame. That's what tells people the character is in costume.
- Turn the illustration into 3D: create a 3D model from a single front-facing drawing and show it rotating. You can show the thickness and sides that a flat image can't — the brim of a hat, the spread of a cape.
How to turn your illustration into a figurine-style image and a 3D model
Here is how to turn your Halloween character into a figurine-style image and a 3D model with Figmee. There's nothing to install — everything runs in the browser.
- Prepare your illustration: use a photo or scan of a drawing on paper, or a digital illustration. Supported formats are PNG, JPEG, and WebP, up to 20 MB per image. Photos of real people or objects are not supported.
- Upload, choose a quality, and generate: choose Standard, Pro, or Max and press "Generate 3D Image" to create a figurine-style image. It usually takes about 2–3 minutes.
- Check the result: make sure the costume cues and your character's features came through. If it doesn't match what you had in mind, try another drawing or regenerate.
- Generate the 3D model: once you're happy with the image, press "Generate 3D Model." You can rotate the finished model 360° in your browser to check it.
- Save and share: from the artwork page, you can save the data in GLB / 3MF format. With "Create 360° video," you can also export a square video in which the model makes two full turns in about 6 seconds.
On pricing: new accounts receive 5 free tokens as a sign-up bonus (valid for 3 months after registration, only for the first registration with a given email address). A figurine-style image costs 1–3 tokens depending on the quality, and a 3D model costs 5 tokens — your first 3D model is free, once per account. You can buy 5 more tokens for $5.99. Saving data and exporting turntable videos don't use tokens.
What to decide before you draw if you plan to go 3D
If you plan to turn the character into 3D, settling these points while drawing makes the result easier to judge.
- Draw the full body from the front: parts that can't be seen from the front, like the back of the cape or hat, are filled in by the AI's guess, so they may differ from what you intended.
- Don't make ultra-thin parts the focus: delicate details like broom bristles or fine spider threads are likely to be flattened or dropped once the character becomes 3D.
- Don't rely on translucency: effects like a see-through ghost may be hard to read as a shape in 3D. A clearly drawn outline gives more stable results.
Keep in mind that a Figmee 3D model is data for shape and color only; it doesn't support rigging (adding a skeleton for animation) or VRM. If you want to animate your character for a Halloween stream or video, you'll need a different tool. This approach suits creators who want to show their costumed character in 3D or introduce it with a turntable video.
For the full workflow of turning an original character into 3D, see how to turn your original character into 3D. For which drawings work well and which are difficult, see our complete guide to turning illustrations into 3D. If you'd like to turn a child's drawing into 3D instead, see our article on turning Halloween monster drawings into figurine-style 3D models.
FAQ
Can I draw a licensed character in a Halloween costume and turn it into 3D?
If you share or publish it beyond personal enjoyment, check the rights holder's guidelines for that character. You may upload drawings you made yourself, or images you have permission to use from the rights holder. The safest choice is an original character whose rights you hold.
Will lots of costume props make the 3D version fall apart?
The more props overlap, the harder it may become to read the main outline. Narrowing the props down to one or two key cues and placing them where they don't overlap the face or body is likely to give more stable results.
Can I get a physical version of my Halloween 3D model?
Ordering physical 3D prints from Figmee is Coming Soon and isn't available yet. You can use the saved 3MF data with your own 3D printer or with a print service that accepts 3MF files, but whether it prints as-is, and how faithfully colors and fine shapes are reproduced, depends on the printer and software.
Summary
To design a Halloween version of your original character, pick one motif, then add one cue to the silhouette, accents to the color palette, and a prop or two. That keeps the character recognizable while clearly dressed for Halloween. Once it's finished, you can share it in social media events or as an avatar — or create a figurine-style image and 3D model from a single front-facing drawing and use a turntable video to show off the costume in three dimensions.